Vanilla Ice Cream is one of those classic ice cream recipes that keeps things simple. No eggs, no custard base—just real vanilla bean along with extract to double down on its rich, pure vanilla flavor. If you’ve got an ice cream maker and a little bit of patience for chilling and freezing, you’re all set to make a batch that’s smooth, creamy, and better than anything from the store.

This post contains affiliate links. As an Amazon Affiliate, if you purchase through those links, I earn a commission. Thank you!
This homemade ice cream recipe makes things feel a little special when we’ve got family over or the kids have friends piling in. It’s easy to make ahead and always ready whenever dessert rolls around. It’s the kind of treat that works for birthdays, casual dinners, or even game night if you’re building sundaes. Since it’s freezer-friendly, it’s a no-fuss dessert that always feels like a win.
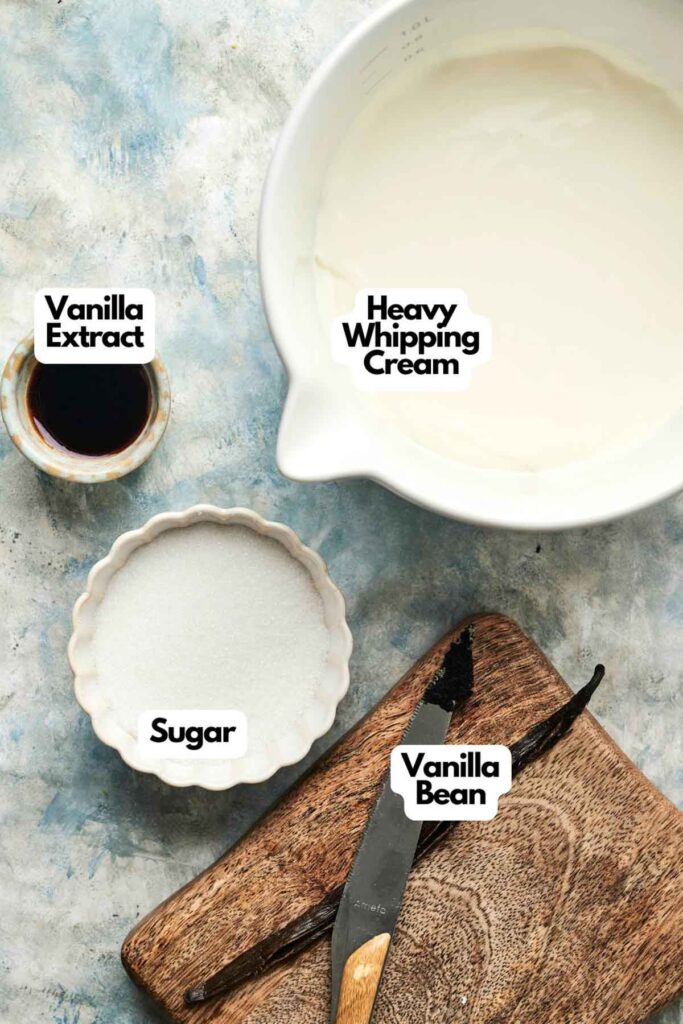
Ingredients You’ll Need
You’ll need all the ingredients shown in the photograph below.
How to Make Vanilla Ice Cream with Step-By-Step Instructions
Scroll down for the full recipe card containing a full printable recipe and measurements in both US customary and metric units.
If you’ve got an ice cream maker and a few pantry staples, you’ll find making this recipe surprisingly easy with my few simple steps.
Mix the Cream and Sugar
Whisk the heavy cream and sugar together in a mixing bowl. I use a balloon whisk with a comfy handle that doesn’t wear your hand out, especially helpful when you’re mixing for a bit. Keep whisking until the sugar fully dissolves—you want a smooth base without any grit.
Stir in the vanilla extract to bring in its signature flavor. You can also add a pinch of kosher or fine sea salt to balance the sweetness, but it’s totally optional.
Add the Vanilla Bean
Slice your vanilla bean down the middle and use the back of your knife to scrape out the seeds. A small cutting board with a juice groove is great here—it keeps things from sliding around or getting sticky all over the counter.
Toss both the seeds and the empty pod into your ice cream mixture to get beautiful specks of real vanilla and a deeper, more rounded flavor.
Chill the Base
Cover the bowl with plastic wrap and refrigerate the mixture for at least an hour. If I’m prepping ahead, I just transfer it to a glass bowl with a locking lid so it chills cleanly and doesn’t pick up fridge smells.
If you’ve got the time, letting it chill overnight helps everything blend and intensifies the flavor even more.
Churn the Ice Cream
Remove the vanilla pod as it should’ve already infused the cream with its flavor, so its job is done here, and you won’t need it anymore.
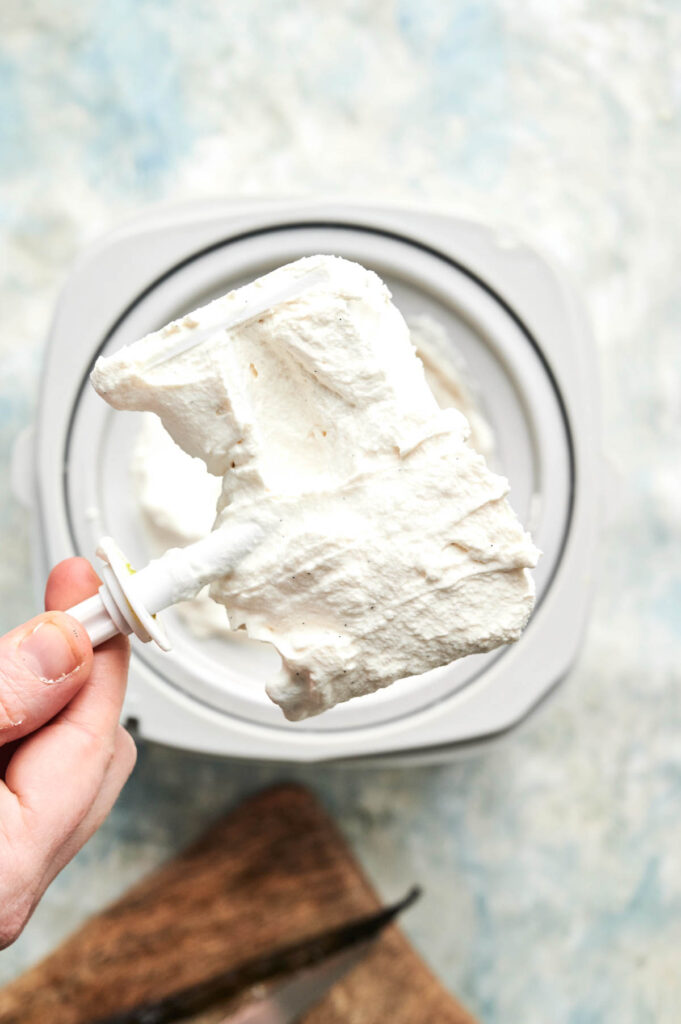
Pour the chilled mixture into your ice cream machine and churn it according to your manufacturer’s directions—it usually takes about 25 minutes. You’re aiming for a soft-serve consistency at this stage.
SERIOUSLY GOOD
DESSERTS!
Dessert First is a collection of 61 RECIPES to show you that you can make beautiful, impressive desserts right in your own kitchen, no matter your skill level.
Immediate eBook download. No physical book available.
Includes ad-free recipes like:
∙ Lemon Pound Cake
∙ Starbucks Cake Pops
∙ Boston Cream Pie
∙ Chocolate Mousse
∙ Matcha Tiramisu
...and much more!

Freeze Until Set
Once it’s churned, transfer the ice cream into a freezer-safe container. I really like these reusable ice cream containers, they help it freeze more evenly and quickly. Smooth the top with a rubber spatula or the back of a spoon.
Press a piece of parchment or plastic wrap directly onto the surface to help prevent ice crystals from forming. Seal tightly with the lid and freeze for at least 4 hours—it’s what takes it from soft-serve to scoopable perfection.
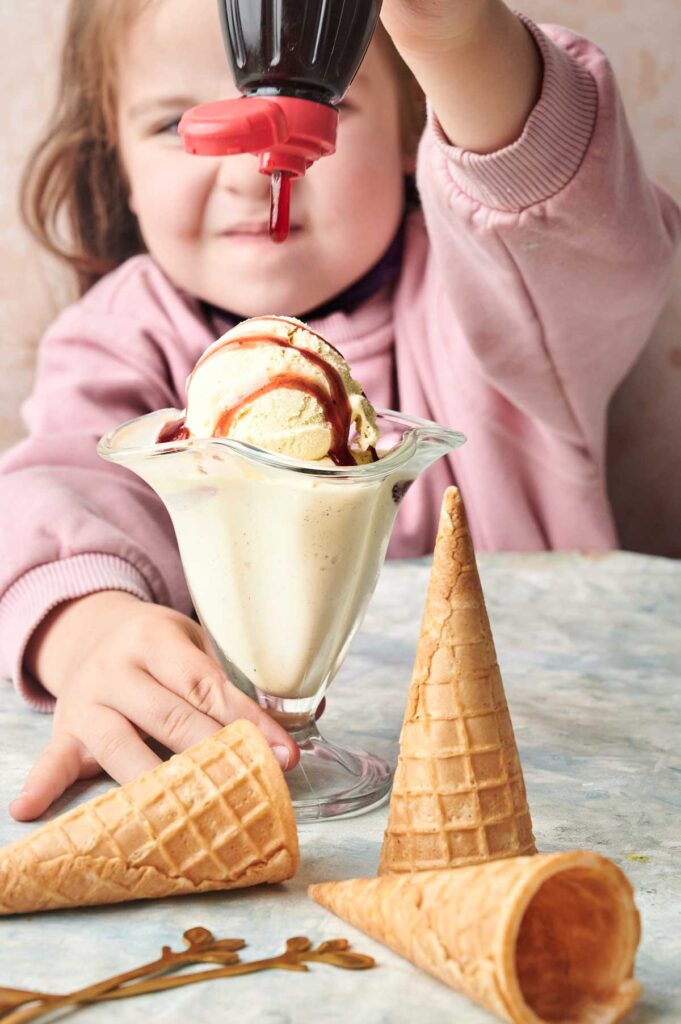
Drizzle and Serve
Scoop the fully frozen vanilla ice cream into dessert glasses, bowls, or cones. I like using these glass dishes because they make even a simple scoop feel like a treat—plus they’re sturdy enough for kids to hold without tipping.
If I’m serving cones, I love using these ice cream cone holders—they’re great for keeping things upright and mess-free when you’ve got kids or guests hovering.
Serve it as is, or drizzle over some vanilla bean paste or strawberry syrup—whichever looks right to you.
The specks from the paste or the bright red shine of the syrup add a quick but beautiful finishing touch, and the flavor boost doesn’t hurt either. Keep it simple or go big with toppings—it’s your call. Enjoy!

Vanilla Ice Cream
Equipment
Ingredients
- 2 cups heavy whipping cream
- ⅔ cup sugar
- 1 vanilla bean
- 1 ½ tablespoons pure vanilla extract
Instructions
- In a mixing bowl, whisk together the heavy cream and sugar until the sugar dissolves completely. Stir in the vanilla extract.2 cups heavy whipping cream, ⅔ cup sugar, 1 ½ tablespoons pure vanilla extract
- Slice the vanilla bean lengthwise and scrape out the seeds using the back of a knife. Add both the seeds and the empty pod to the cream mixture for a deeper vanilla flavor.1 vanilla bean
- Cover the bowl and refrigerate the mixture for at least 1 hour—or overnight for best flavor infusion.
- Remove the vanilla pod. Pour the chilled mixture into your ice cream maker and churn according to the manufacturer’s instructions (usually about 25 minutes), until it reaches a soft-serve consistency.
- Transfer the churned ice cream to a container, cover, and freeze for at least 4 hours or until fully set.
Video
Notes
- Use Cold Cream: Start with cold cream straight from the fridge to help the ice cream churn more easily and set up faster.
- Dissolve the Sugar Fully: Take a minute to make sure the sugar is completely dissolved—this keeps the texture smooth and avoids icy spots.
- Don’t Skip the Vanilla Bean: It may seem fancy, but it’s worth it. The bean adds depth while the classic black flecks make it feel extra special.
- Chill the Base Thoroughly: A cold ice cream base is key to a creamy texture—it helps the mixture churn properly without getting icy.
- Keep an Eye on the Churn: Stop when the mixture looks like soft serve. Over-churning can change the texture and make it less creamy.
- Use a Shallow Container: A wide, shallow dish freezes the ice cream more evenly and quickly than a deep one.
- Cover to Prevent Ice Crystals: Press plastic wrap directly onto the surface of the ice cream before sealing the container to keep it smooth.
- Let It Soften Before Serving: Homemade ice cream freezes hard. Let it sit out for a few minutes before scooping for the best texture.
Nutrition
SERIOUSLY GOOD
DESSERTS!
Dessert First is a collection of 61 RECIPES to show you that you can make beautiful, impressive desserts right in your own kitchen, no matter your skill level.
Immediate eBook download. No physical book available.
Includes ad-free recipes like:
∙ Lemon Pound Cake
∙ Starbucks Cake Pops
∙ Boston Cream Pie
∙ Chocolate Mousse
∙ Matcha Tiramisu
...and much more!
Recipe Notes and Expert Tips
I’ve made this ice cream more times than I can count—here are the tips that make a big difference every time.
- Use Cold Cream: Start with cold cream straight from the fridge to help the ice cream churn more easily and set up faster.
- Dissolve the Sugar Fully: Take a minute to make sure the sugar is completely dissolved—this keeps the texture smooth and avoids icy spots.
- Don’t Skip the Vanilla Bean: It may seem fancy, but it’s worth it. The bean adds depth while the classic black flecks make it feel extra special.
- Chill the Base Thoroughly: A cold ice cream base is key to a creamy texture—it helps the mixture churn properly without getting icy.
- Keep an Eye on the Churn: Stop when the mixture looks like soft serve. Over-churning can change the texture and make it less creamy.
- Use a Shallow Container: A wide, shallow dish freezes the ice cream more evenly and quickly than a deep one.
- Cover to Prevent Ice Crystals: Press plastic wrap directly onto the surface of the ice cream before sealing the container to keep it smooth.
- Let It Soften Before Serving: Homemade ice cream freezes hard. Let it sit out for a few minutes before scooping for the best texture.
How to Store Leftovers
If you’ve made a batch or got extras, store them in a freezer-safe airtight container. I use the same reusable ice cream tubs mentioned earlier and press a piece of parchment or plastic wrap right onto the surface before sealing the lid. That trick keeps ice crystals off the top.
Like every other ice cream, it’s freezer-friendly, and you can stash it in the freezer for up to 2-4 weeks, though let’s admit it: making ice cream last that long is a bit challenging, right?
What to Serve With Vanilla Ice Cream
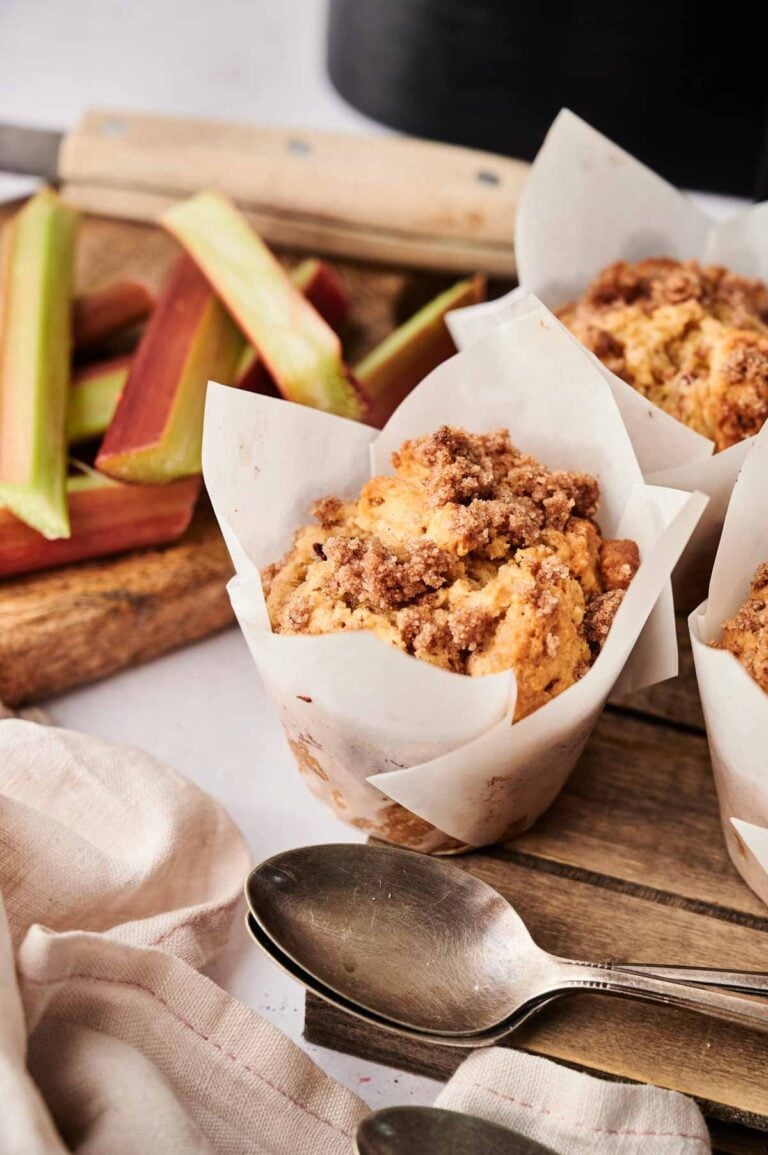
Vanilla ice cream is endlessly versatile and plays well with just about anything you’ve got on hand. Scoop it over warm fruit crumbles, brownies, or slices of pie, or turn it into something fun with crushed chocolate chip cookies or fresh blueberries.
You can layer it into ice cream sandwiches, top it with caramel sauce, hot fudge, or fresh fruit, or serve it with grilled peaches and a few cherries for a summer-ready dessert. For some chunks, sprinkle a handful of nuts or chocolate chips—there’s really no wrong way to enjoy it.
More Easy Recipes for You to Try at Home
I’ve got more easy, fuss-free dessert ideas that can also go perfectly with this vanilla ice cream or stand strong on their own.


Smooth texture and a rich vanilla flavor that feels comforting