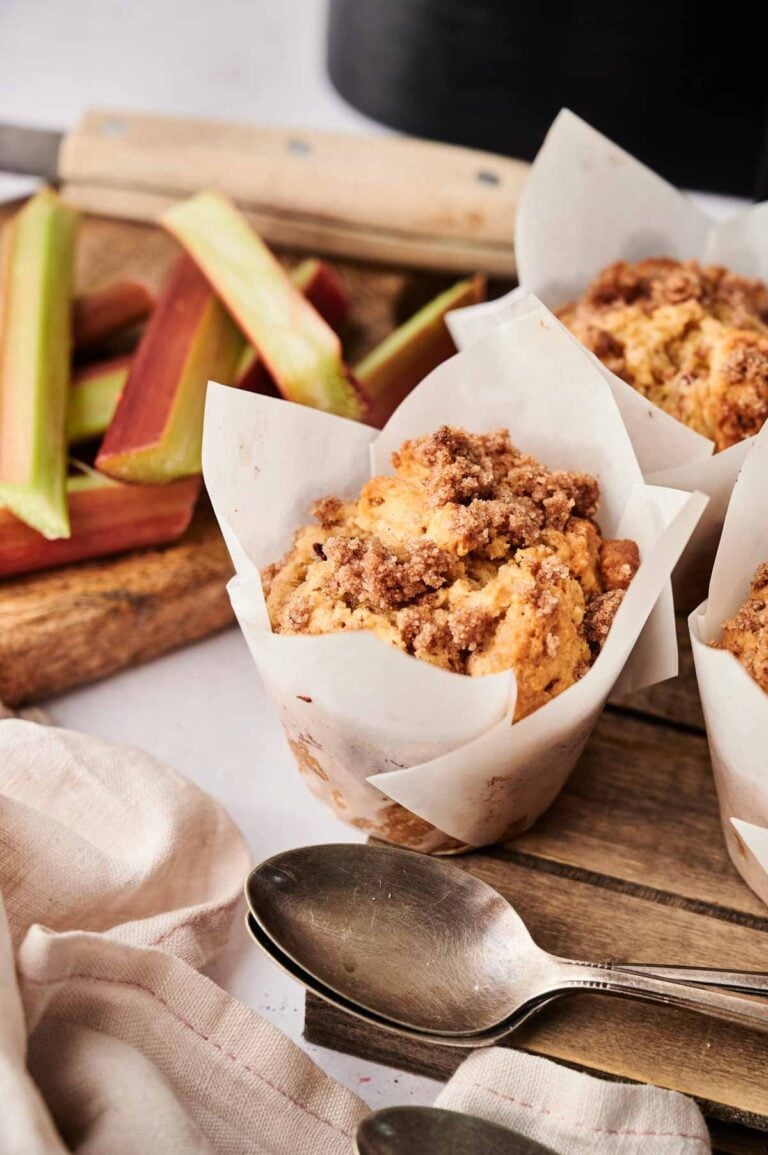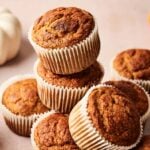
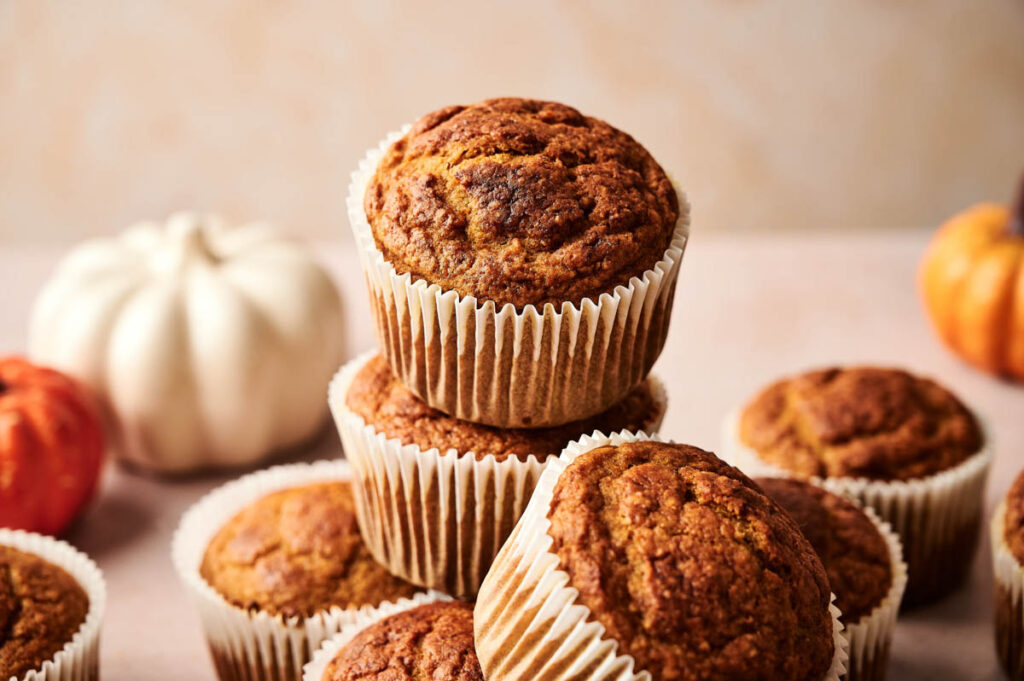
Pumpkin Muffins are my go-to morning treats when I want something that feels cozy and homemade without a lot of fuss. They’ve got tender crumb and a comforting blend of fall flavors like pumpkin and warm spice that makes breakfasts feel a little special. There’s a step you’ll want to remember that makes them come out extra moist, and I’ll show you how simple that is.
This post contains affiliate links. As an Amazon Affiliate, if you purchase through those links, I earn a commission. Thank you!
When I’m planning for a busy week or a potluck, these pumpkin muffins always work like a charm. They’re easy to bake in a big batch, and I like that I can make them ahead and keep them fresh in the fridge or freezer until I need them. They’re also very versatile, so even though they are a fall favorite, you can still make and enjoy them any time of year.
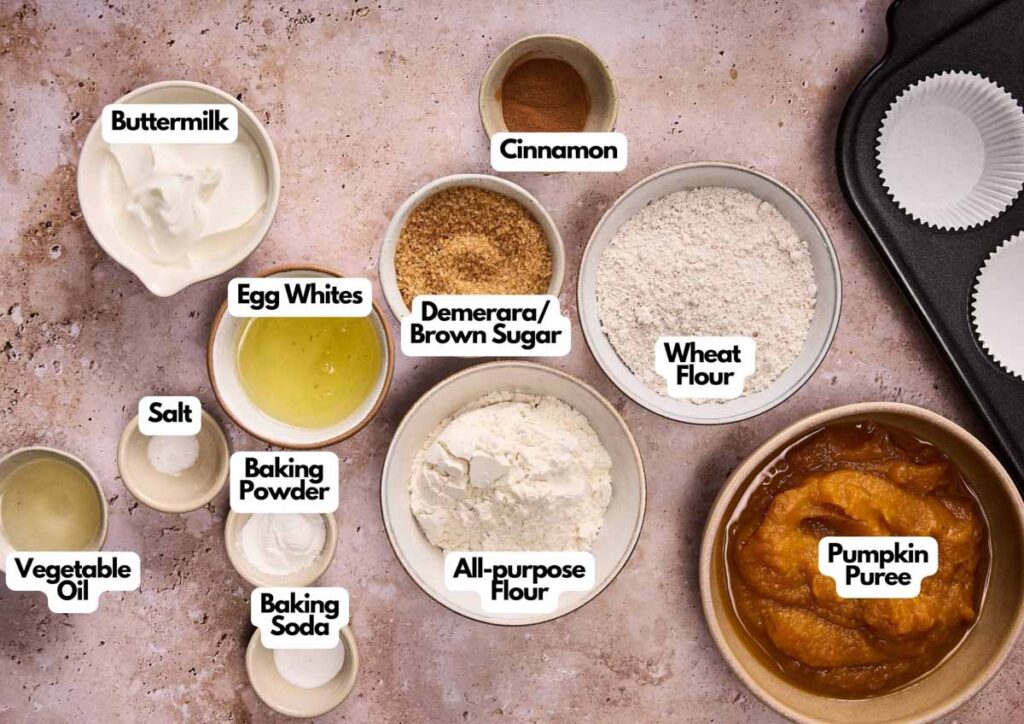
Ingredients You’ll Need
You’ll need all the ingredients shown in the photograph below.
How to Make Pumpkin Muffins with Step-By-Step Instructions
Scroll down for the full recipe card containing a full printable recipe and measurements in both US customary and metric units.
You’ll find making this pumpkin muffin recipe super fuss-free and simple if you follow my easy step-by-step instructions.
Prepare the Muffin Tin
Preheat your oven to 375°F (190°C). Line a muffin tin with parchment or muffin liners so the muffins release easily after baking. A nonstick muffin pan like this helps the muffins bake evenly and pop right out.
If you’ve had enough with paper liners that tear easily or stick too much to the muffins whenever you start peeling them off, these reusable silicone muffin cups work wonders.
Mix the Dry Ingredients
In a large bowl, whisk together the whole wheat flour, all-purpose flour, baking powder, baking soda, salt, and cinnamon until well combined. I use a balloon whisk like this because it really helps break up any clumps in the flour.
Mix the Wet Ingredients
In another bowl, whisk together the pumpkin puree, brown sugar, buttermilk, egg whites, and vegetable oil until the mixture is smooth and blended. I like using a spout mixing bowl for this since it makes pouring and mixing easier and less messy.
Combine Wet and Dry
Add the liquid pumpkin mixture to the flour mixture and stir gently until just combined, and you no longer see streaks of flour, which keeps the texture light and fluffy. Be careful not to overmix, as that can make your muffins dense.
I always stick to my silicone spatula so I can fold everything together gently without overworking the batter.
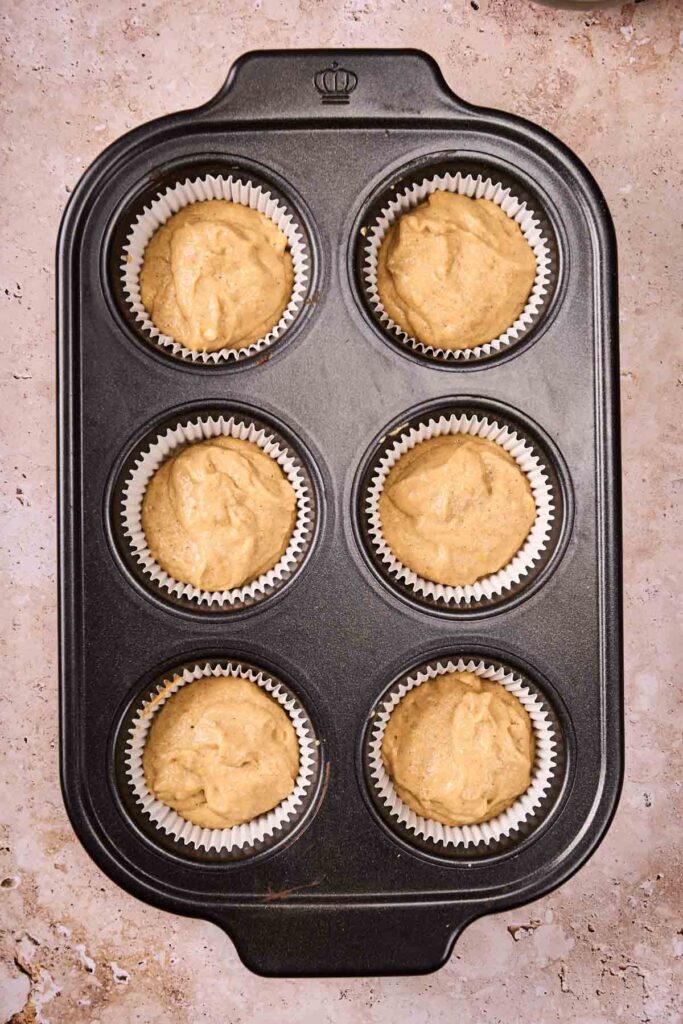
Fill and Bake
Divide the batter evenly among the muffin cups, filling each about three-quarters full so they have room to rise without spilling over. Using a cookie scoop really helps keep the portions even and everything neat.
Bake for about 30 minutes, or until a toothpick inserted into the center comes out clean. I keep a stash of bamboo toothpicks in the drawer just for checking doneness in baked goods like this; they’re sturdy and don’t splinter.
Cool the Muffins
Let the muffins cool in the tin for 20 minutes before transferring them to a wire rack to finish cooling. This helps them firm up and prevents them from breaking apart. A wire cooling rack like this one gives them good air circulation underneath so they don’t get soggy.
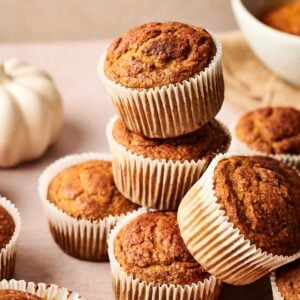
Serve and Enjoy
Once cooled, serve them on their own, or add a little butter or cream cheese for an extra treat. Finally, enjoy!
If you’re making these for a potluck or gathering, use a hard-sided container like this cupcake carrier to protect them from getting smushed and to hold them in place. Then, place the container inside a round insulated carrier tote to keep the muffins’ temperature stable.
Pumpkin Muffins
Equipment
Ingredients
- 1 cup whole wheat flour
- ⅔ cup all-purpose flour
- 1 ½ teaspoons baking powder
- 1 teaspoon baking soda
- ½ teaspoon salt
- ½ teaspoon ground cinnamon
- 1 ½ cups pure pumpkin puree
- ⅔ cup packed demerara or dark brown sugar
- ⅔ cup buttermilk
- 2 egg whites
- 3 tablespoons vegetable oil
Instructions
- Preheat oven to 375°F (190°C). Line a muffin tin with parchment or paper liners.
- In a large bowl, whisk together the whole wheat flour, all-purpose flour, baking powder, baking soda, salt, and cinnamon.1 cup whole wheat flour, ⅔ cup all-purpose flour, 1 ½ teaspoons baking powder, 1 teaspoon baking soda, ½ teaspoon salt, ½ teaspoon ground cinnamon
- In another bowl, whisk pumpkin puree, brown sugar, buttermilk, egg whites, and vegetable oil until smooth.1 ½ cups pure pumpkin puree, ⅔ cup packed demerara or dark brown sugar, ⅔ cup buttermilk, 2 egg whites, 3 tablespoons vegetable oil
- Add wet ingredients to dry ingredients and stir until just combined—do not overmix. Divide batter evenly among muffin cups.
- Bake for about 30 minutes, or until a toothpick inserted in the center comes out clean.
- Let muffins cool in the tin for 20 minutes before transferring to a wire rack.
Notes
- Measure flour correctly: Spoon the flour into your measuring cup and level it off to avoid using too much and ending up with dry muffins. This is especially important if you’re swapping in a gluten-free flour blend, since it can be denser than regular flour.
- Whisk dry ingredients first: Combine the flours, leaveners, salt, and cinnamon thoroughly before adding wet ingredients so everything is evenly distributed.
- Transfer to a wire rack: Moving them to a wire rack allows air to circulate and keeps the bottoms from becoming soggy.
- Use pumpkin spice blends: Instead of just cinnamon, try using pumpkin spice or pumpkin pie spice, or add a little nutmeg and ginger alongside. These spices give the muffins a warm, cozy flavor.
- Choose the right pumpkin: Always use homemade or canned pumpkin puree, not pumpkin pie filling. Pumpkin pie filling already has sugar and spices, which would make the muffins too sweet and throw off the balance.
- Mix in extras: Fold in chocolate chips, chopped walnuts, or pecans for extra texture and flavor. Chocolate chips make the muffins more dessert-like, while nuts add crunch.
- Adjust fat for flavor: Replace the vegetable oil with melted butter if you like a richer, denser muffin. You can also add a teaspoon of vanilla extract to the wet mixture to round out the flavors.
- Try a bakery-style finish: Sprinkle the tops with a streusel topping before baking. It adds sweetness, a little crunch, and makes the muffins look like they came from a bakery.
Nutrition
Recipe Notes and Expert Tips
I’ve found that these tips make all the difference when baking pumpkin muffins.
- Measure flour correctly: Spoon the flour into your measuring cup and level it off to avoid using too much and ending up with dry muffins. This is especially important if you’re swapping in a gluten-free flour blend, since it can be denser than regular flour.
- Whisk dry ingredients first: Combine the flours, leaveners, salt, and cinnamon thoroughly before adding wet ingredients so everything is evenly distributed.
- Transfer to a wire rack: Moving them to a wire rack allows air to circulate and keeps the bottoms from becoming soggy.
- Use pumpkin spice blends: Instead of just cinnamon, try using pumpkin spice or pumpkin pie spice, or add a little nutmeg and ginger alongside. These spices give the muffins a warm, cozy flavor.
- Choose the right pumpkin: Always use homemade or canned pumpkin puree, not pumpkin pie filling. Pumpkin pie filling already has sugar and spices, which would make the muffins too sweet and throw off the balance.
- Mix in extras: Fold in chocolate chips, chopped walnuts, or pecans for extra texture and flavor. Chocolate chips make the muffins more dessert-like, while nuts add crunch.
- Adjust fat for flavor: Replace the vegetable oil with melted butter if you like a richer, denser muffin. You can also add a teaspoon of vanilla extract to the wet mixture to round out the flavors.
- Try a bakery-style finish: Sprinkle the tops with a streusel topping before baking. It adds sweetness, a little crunch, and makes the muffins look like they came from a bakery.
How to Store Leftovers
Store your muffins in a single layer in an airtight container at room temperature for up to 3 to 4 days, or in the refrigerator for up to 5 to 7 days. I like using this locking storage container because it keeps them fresh without letting in extra moisture.
Since the muffins are moist, make sure to line the container with paper towels above and below the muffins to absorb excess moisture and keep them from getting soggy. If you’d like to freeze them, wrap each muffin tightly in plastic wrap and place them in a freezer-safe bag or container.
I use BPA-free plastic wrap, which is super durable, and these reusable freezer bags that seal tightly and stack easily in the freezer. You can also use freezer containers if you prefer something more protective for longer storage.
They freeze well for up to 2 to 3 months, and you can thaw them overnight in the fridge or warm them in the microwave when you’re ready to enjoy.
What to Serve With Pumpkin Muffins
Pumpkin muffins go well with a hot cup of coffee or tea for breakfast, but they also work as a snack with a smear of cream cheese or butter on top. For a more filling option, pair them with scrambled eggs, yogurt, or a fruit salad.
More Easy Recipes for You to Try at Home
Whether you’re looking for a satisfying breakfast, something pumpkin-flavored, or more muffin recipes, I’ve got a variety for you to try: