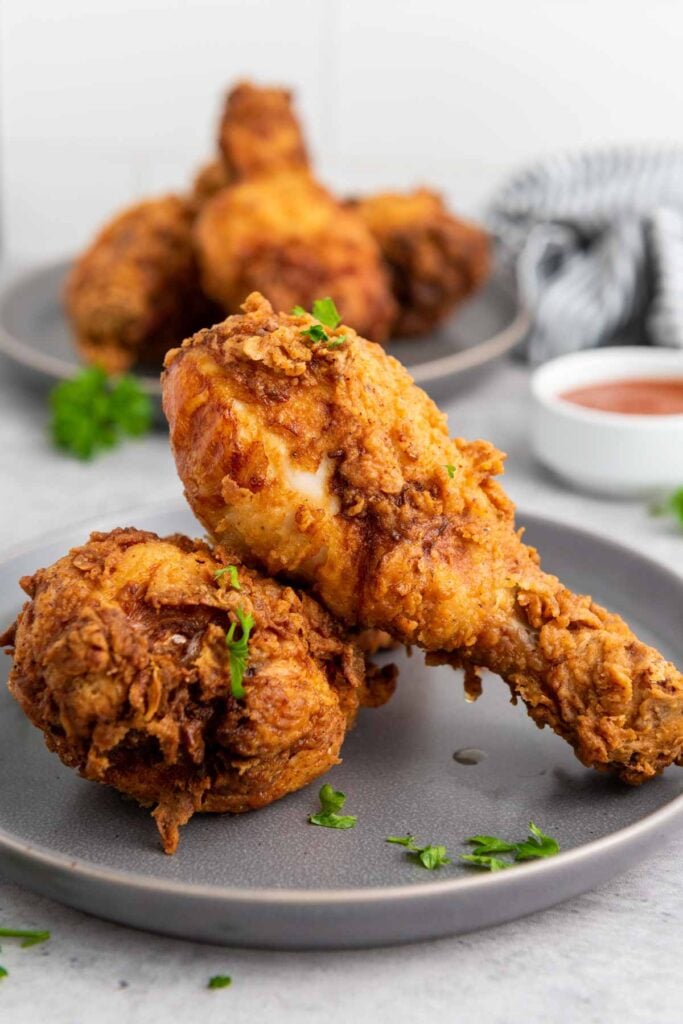
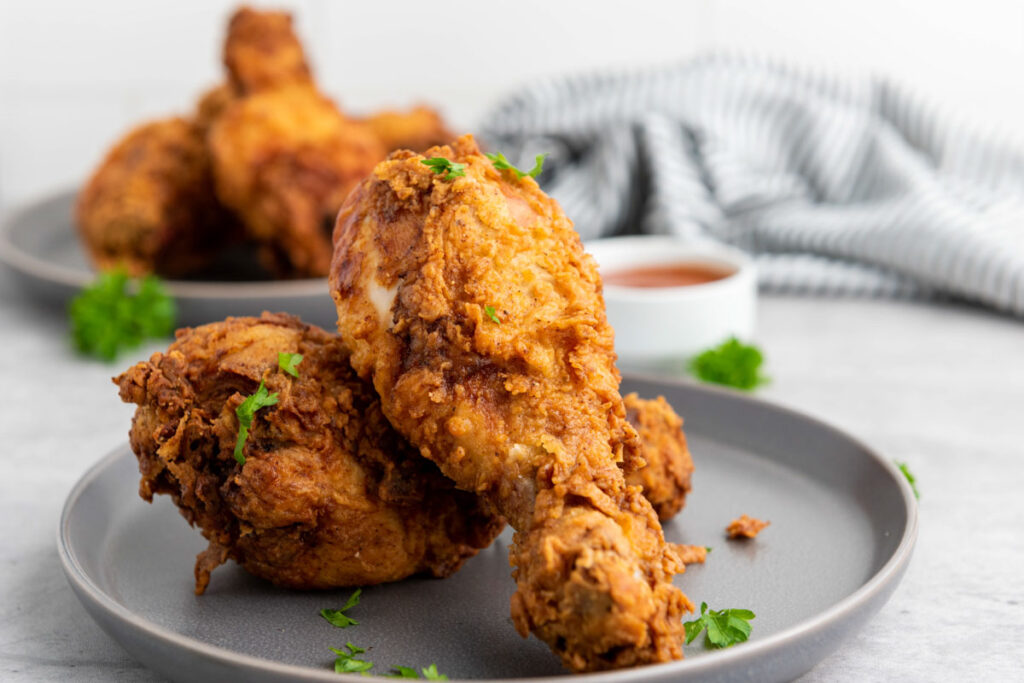
Buttermilk fried chicken is a classic that never goes out of style. Whether you’re feeding a hungry family or hosting friends, this recipe brings crispy, golden perfection to your table with minimal effort. With its flavorful coating and juicy interior, it’s the kind of meal everyone can agree on.
This post contains affiliate links. As an Amazon Affiliate, if you purchase through those links, I earn a commission. Thank you!
I always turn to this buttermilk fried chicken when I need a reliable crowd-pleaser. It’s great for family dinners or casual gatherings because it’s easy to prepare in advance. You can marinate the chicken in buttermilk overnight, fry it fresh, or even freeze leftovers to reheat later.
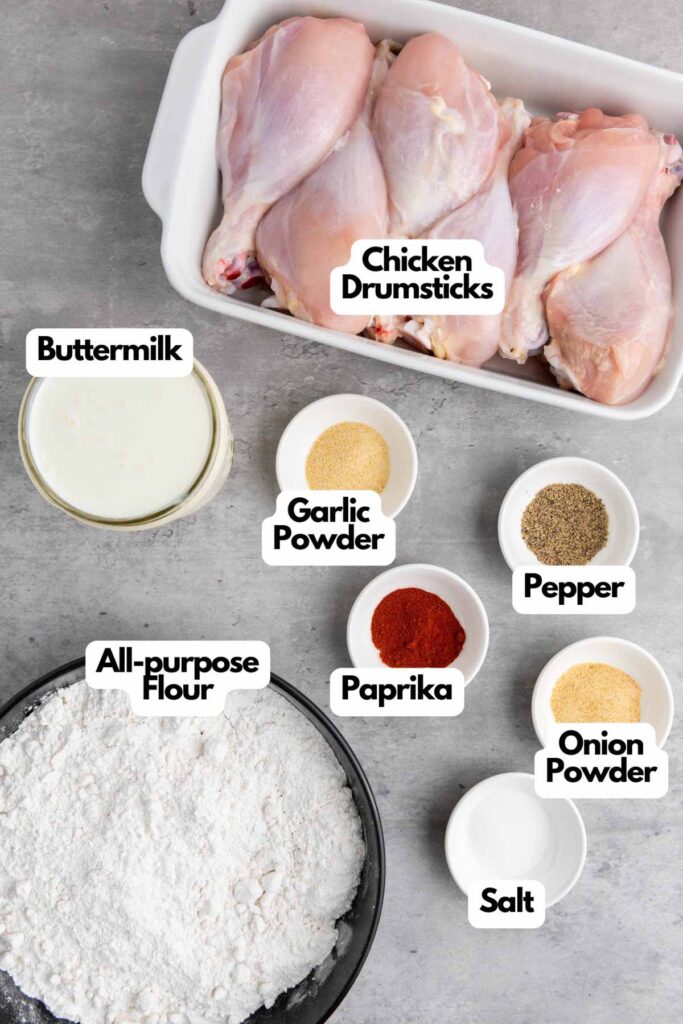
Ingredients You’ll Need
You’ll need all the ingredients shown in the photograph below.
How to Make Buttermilk Fried Chicken with Step-by-Step Instructions
Scroll down for the full recipe card containing a full printable recipe and measurements in both US customary and metric units.
You’ll find making this buttermilk fried chicken simple if you follow my steps.
Prepare the Chicken
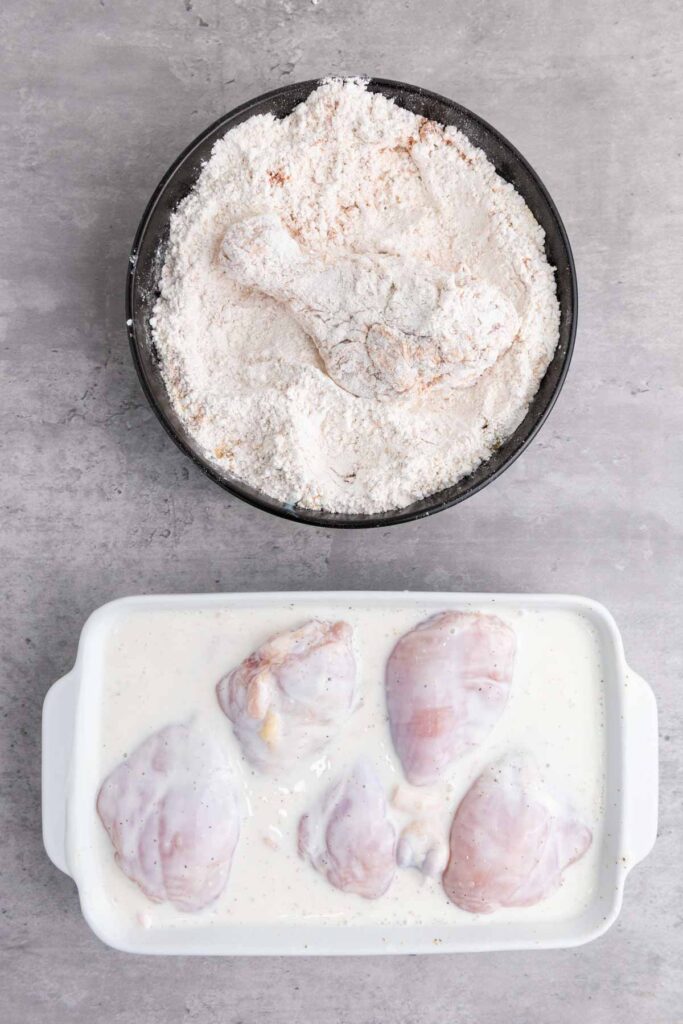
Start by rinsing and patting the drumsticks dry. Season with salt and pepper. Place them in a bowl and pour buttermilk over the top. Add half of the salt and pepper to season.
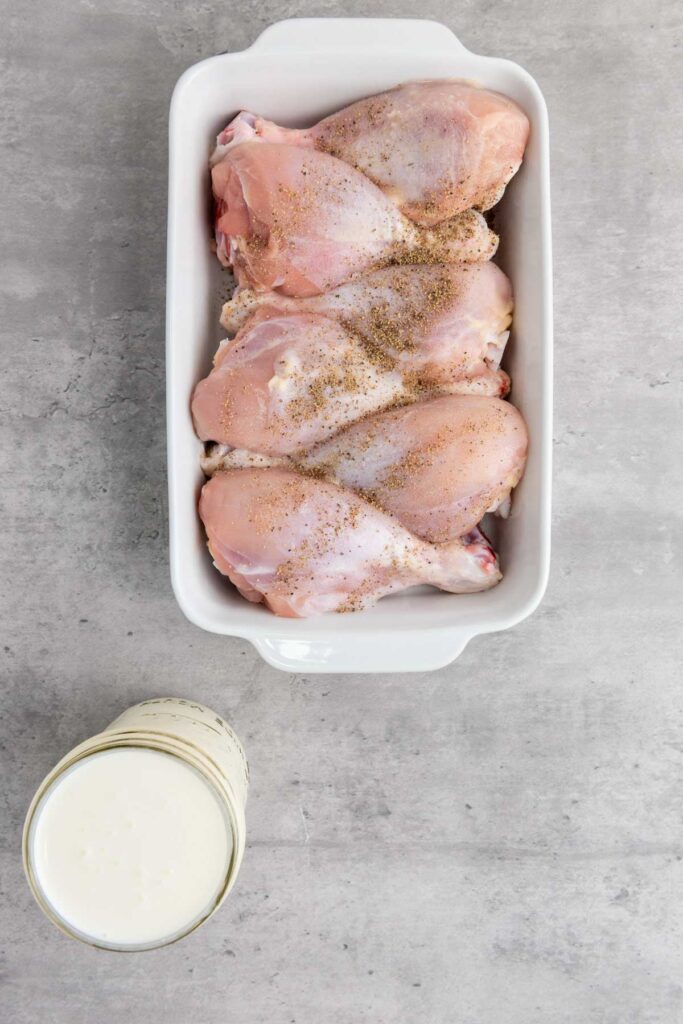

Toss everything together to ensure the chicken is coated well. Cover the bowl and let it chill in the refrigerator for at least 2 hours. This step tenderizes the chicken and infuses it with flavor.
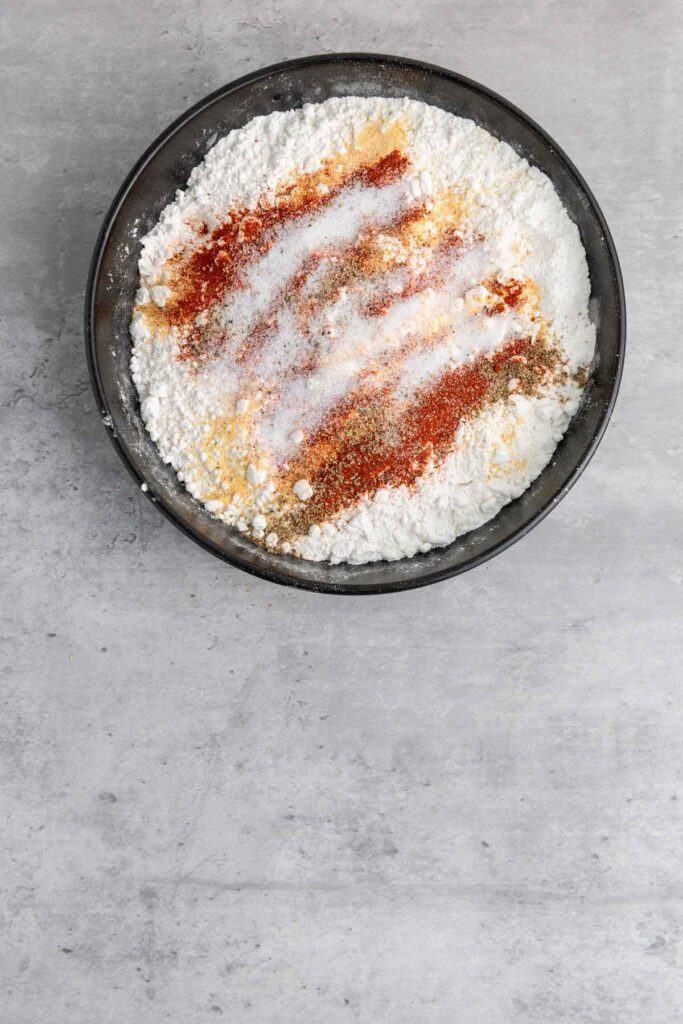
Mix the Seasoned Flour
In a separate bowl, combine the flour, paprika, garlic powder, onion powder, and the remaining salt and pepper. This will be the coating that gives your fried chicken its signature crispiness.
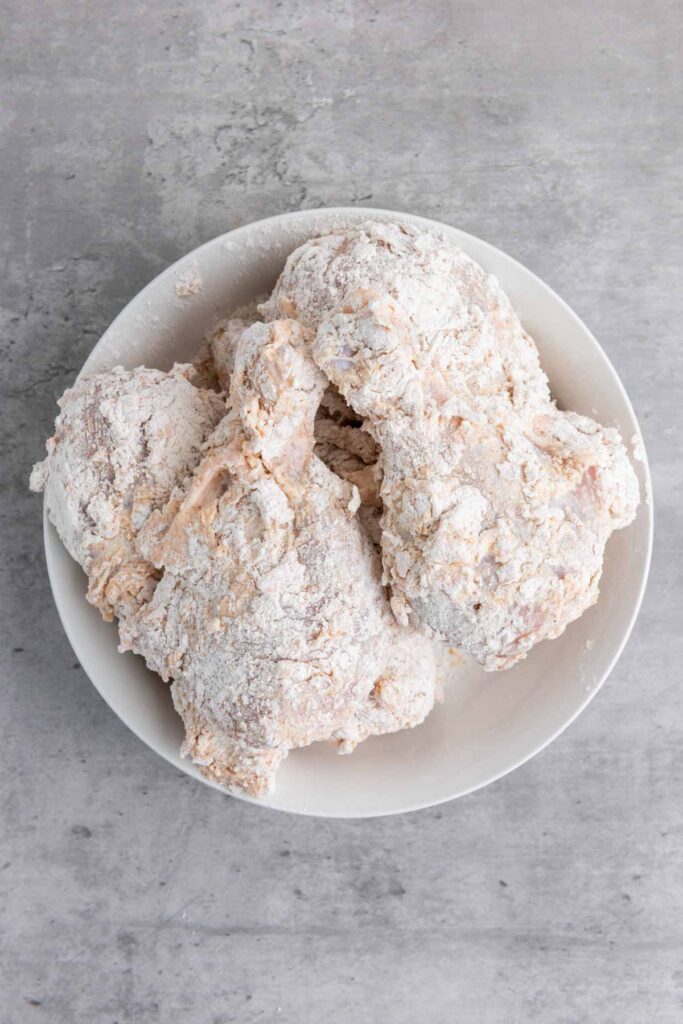
Coat the Chicken
Remove the chicken from the buttermilk, letting any excess drip off. Roll each drumstick in the seasoned flour mixture, pressing the flour firmly onto the chicken to create a thick, even coating.
Fry the Chicken
Heat vegetable oil in a deep fryer or a heavy-bottomed pot to 350-375°F (175-190°C), use a thermometer to monitor the temperature.
Carefully place the coated drumsticks into the hot oil, a few at a time, ensuring not to overcrowd the fryer.
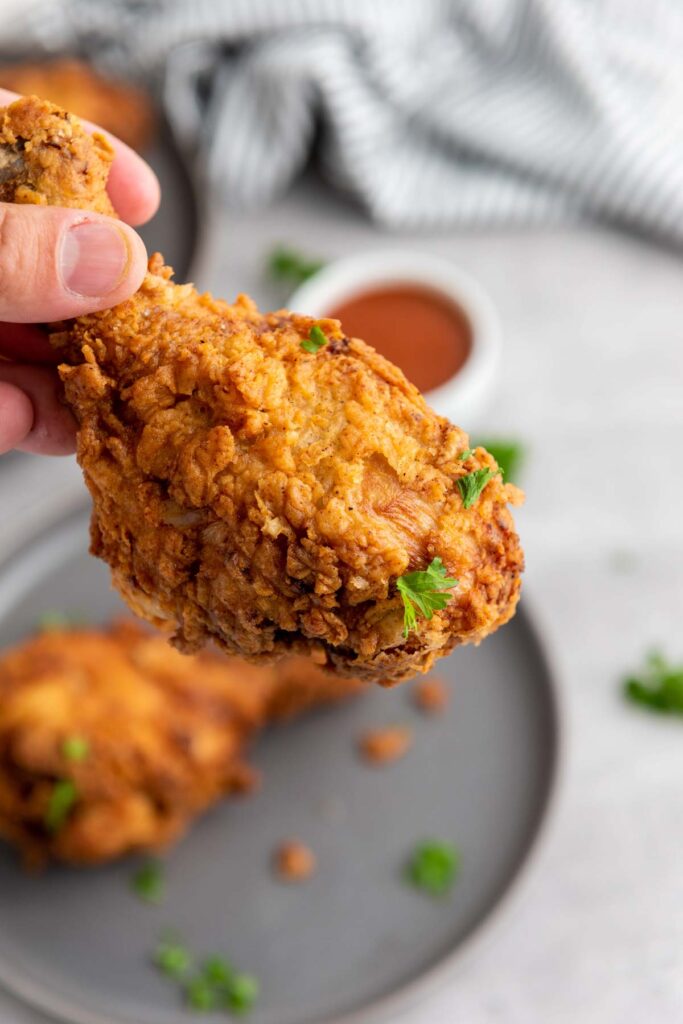
Fry for 12-15 minutes, turning occasionally, until they’re golden brown and crispy. Use a meat thermometer to ensure the internal temperature of the chicken reaches 165°F (74°C).
Drain and Serve
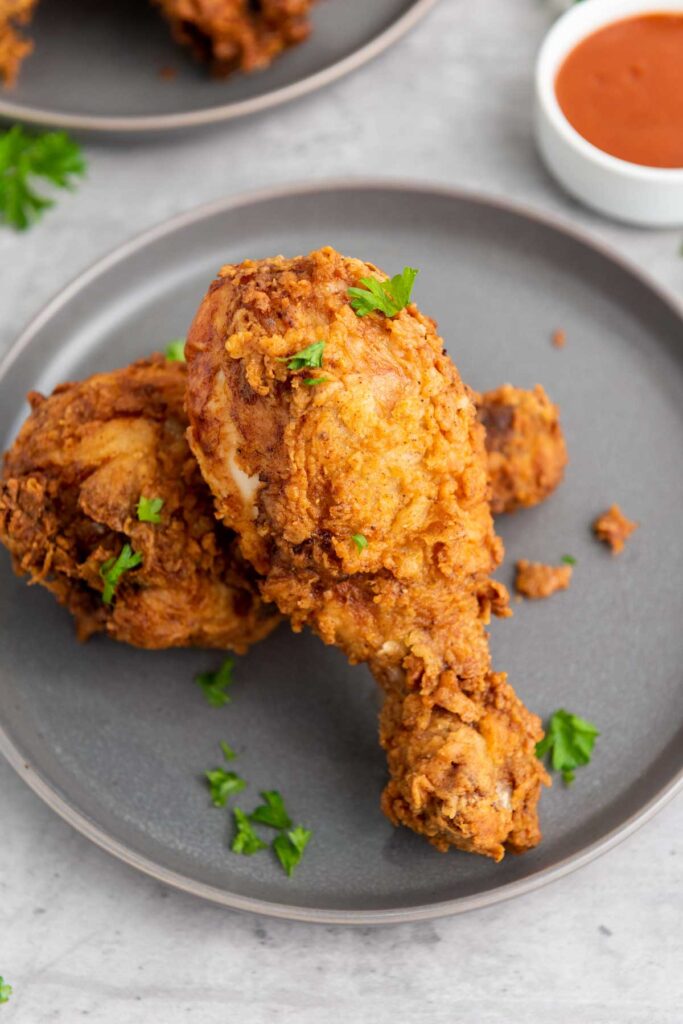
Remove the fried chicken from the oil using a slotted spoon and transfer it to a plate lined with paper towels to absorb any excess oil. Let the chicken cool slightly before serving.
Enjoy your crispy, golden buttermilk fried chicken with your favorite sides.
Recipe Notes and Expert Tips
I’ve put together some tips to make sure your buttermilk fried chicken turns out perfectly every time:
- Marinating Time: Let the chicken sit in buttermilk for at least 2 hours; overnight is even better for maximum flavor and tenderness.
- Maintain Oil Temperature: Keep the oil consistently between 350°F and 375°F to ensure a crispy crust without burning.
- Test Oil Readiness: Drop a pinch of flour into the oil; it should sizzle immediately. If it burns too quickly, the oil is too hot.
- Thicker Coating: Press the seasoned flour firmly onto the chicken for an extra-thick, crispy crust that won’t fall off during frying.
- Fry in Small Batches: Overcrowding lowers the oil temperature, which can make the chicken greasy. Work in batches for the best results.
- Check Internal Temperature: Always use a meat thermometer to ensure the chicken is cooked to 165°F for safety.
- Let It Rest: Rest the fried chicken for a few minutes after frying to allow the crust to set and remain crunchy.
How to Store Leftover Buttermilk Fried Chicken
Store leftover fried chicken in an airtight container in the refrigerator for up to 3 days. To reheat, place it in a preheated 350°F oven to restore its crispy texture.
You can also freeze the chicken for up to 2 months. While the coating may lose some crispiness after thawing, reheating in the oven can help bring back some of the crunch.
What to Serve With Buttermilk Fried Chicken
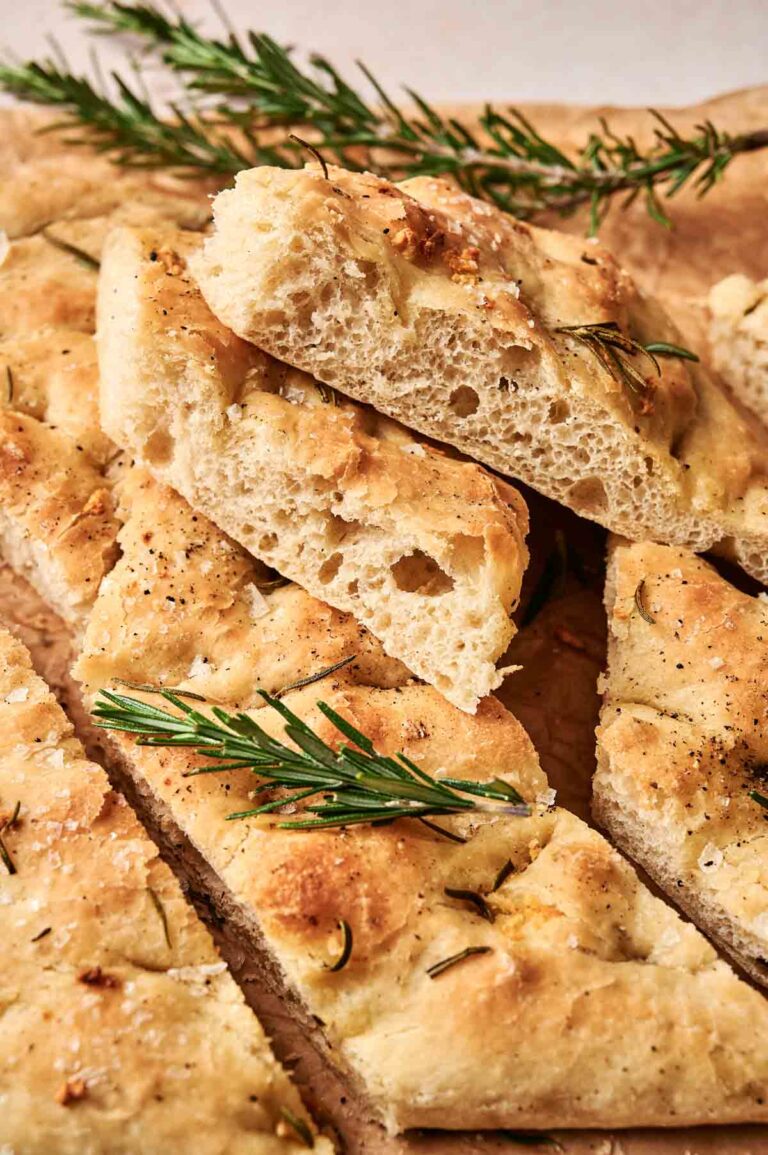
Buttermilk fried chicken pairs beautifully with classic sides like creamy mashed potatoes, tangy coleslaw, or buttery biscuits.
For a true comfort food spread, add some mac and cheese, cornbread, or even a fresh green salad for balance.
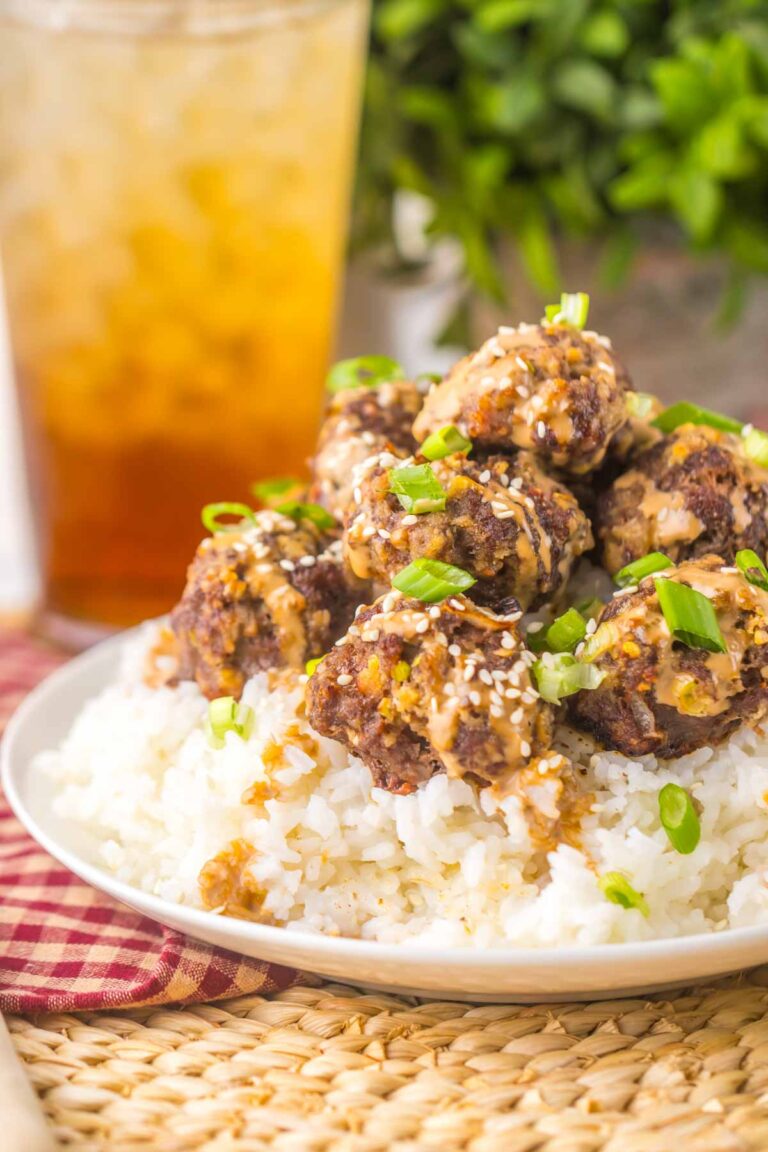
More Easy Recipes for You to Try at Home
Need some more dinner inspiration? Check these easy recipes out.
Buttermilk Fried Chicken Recipe
Equipment
Ingredients
- 6 chicken drumsticks
- 2 cups all-purpose flour
- 2 cups buttermilk
- 1 teaspoon paprika
- 1 teaspoon garlic powder
- 1 teaspoon onion powder
- 1 teaspoon salt
- 1 teaspoon pepper
- Vegetable oil for frying
Instructions
- Rinse the chicken drumsticks and pat them dry. Place them in a bowl, then pour the buttermilk over them. Add half of the salt and pepper, stirring to coat the chicken evenly. Cover the bowl and refrigerate for at least 2 hours to allow the flavors to develop.6 chicken drumsticks, 2 cups buttermilk
- In another bowl, combine the flour, paprika, garlic powder, onion powder, and the remaining salt and pepper. Mix thoroughly to create a seasoned flour mixture.2 cups all-purpose flour, 1 teaspoon paprika, 1 teaspoon garlic powder, 1 teaspoon onion powder, 1 teaspoon salt, 1 teaspoon pepper
- Remove the chicken from the buttermilk, letting any excess liquid drip off. Roll each piece in the seasoned flour, pressing firmly to ensure an even, thick coating.
- Heat vegetable oil in a deep fryer or heavy-bottomed pot to 350-375°F (175-190°C). Add the chicken pieces in batches, making sure not to overcrowd the fryer. Fry for 12-15 minutes, turning occasionally, until the chicken is golden brown, crispy, and fully cooked with an internal temperature of 165°F (74°C).Vegetable oil for frying
- Use a slotted spoon to transfer the chicken to a plate lined with paper towels to drain excess oil. Allow the chicken to cool slightly before serving.
Notes
- Marinating Time: Let the chicken sit in buttermilk for at least 2 hours; overnight is even better for maximum flavor and tenderness.
- Maintain Oil Temperature: Keep the oil consistently between 350°F and 375°F to ensure a crispy crust without burning.
- Test Oil Readiness: Drop a pinch of flour into the oil; it should sizzle immediately. If it burns too quickly, the oil is too hot.
- Thicker Coating: Press the seasoned flour firmly onto the chicken for an extra-thick, crispy crust that won’t fall off during frying.
- Fry in Small Batches: Overcrowding lowers the oil temperature, which can make the chicken greasy. Work in batches for the best results.
- Check Internal Temperature: Always use a meat thermometer to ensure the chicken is cooked to 165°F for safety.
- Let It Rest: Rest the fried chicken for a few minutes after frying to allow the crust to set and remain crunchy.
I think this could wind up. Family favorite!!
I’m so pleased to hear this!